You don’t need to be a tech pro to design your own fabrics.
You just need to make some art.
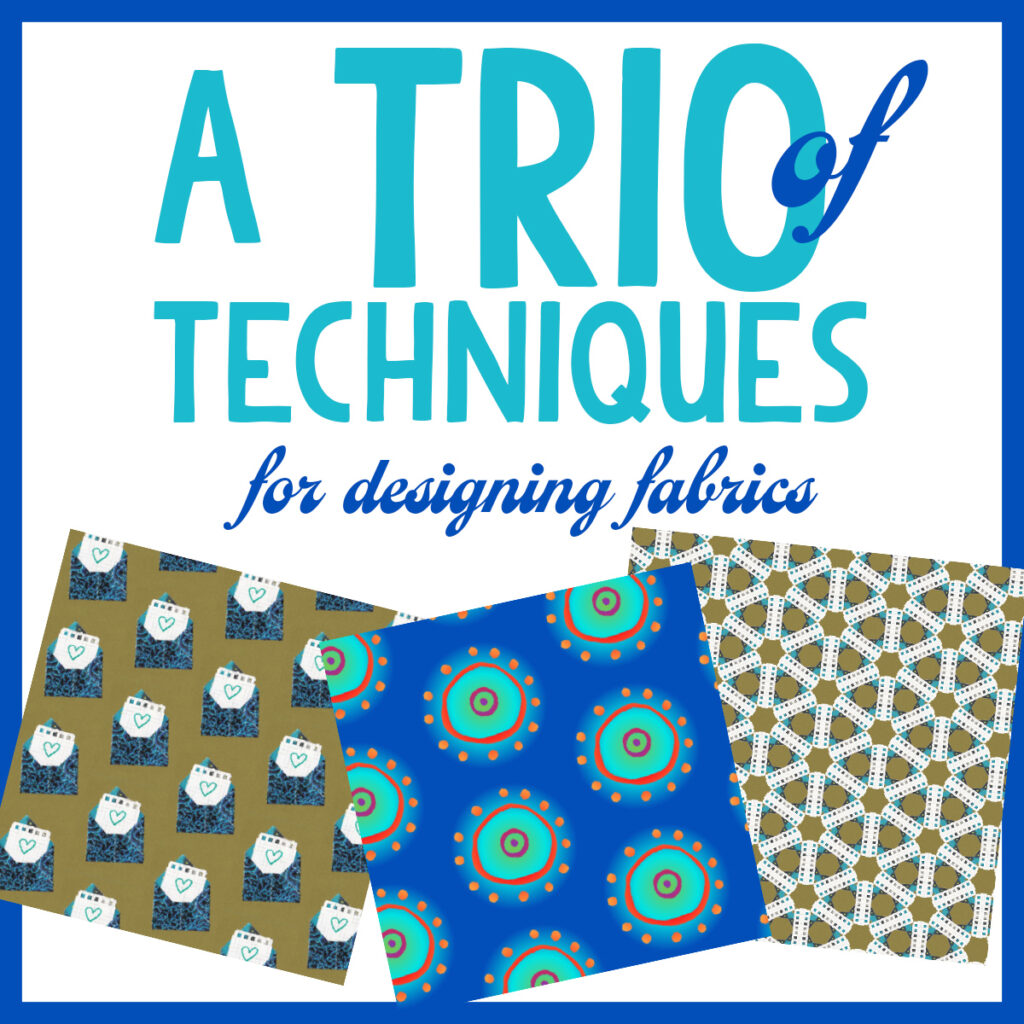
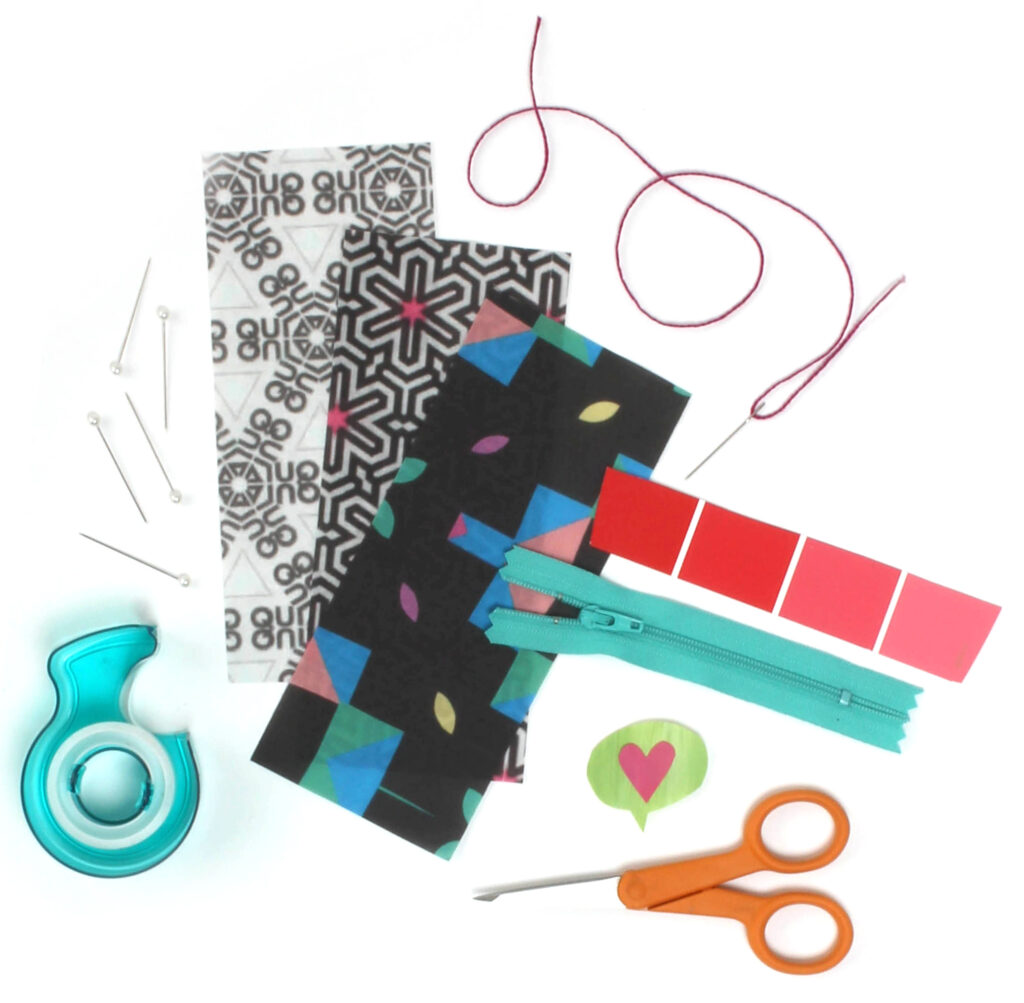
This class will introduce you to three different techniques for designing novelty and geometric prints starting with hands-on art. You don’t need to learn Photoshop or Procreate, because in this class we will make designs using paper, markers, tape, and a scanner.
That’s because fabric design is something everyone can do! Even though there are many classes out there that jump into teaching you custom brushes and repeats using Photoshop or Illustrator or Procreate, you don’t need those sophisticated apps to make great fabric designs. You don’t need to spend the time to learn about that technology when the most important part of your design is making the art.
We’ll learn a trio of design techniques.
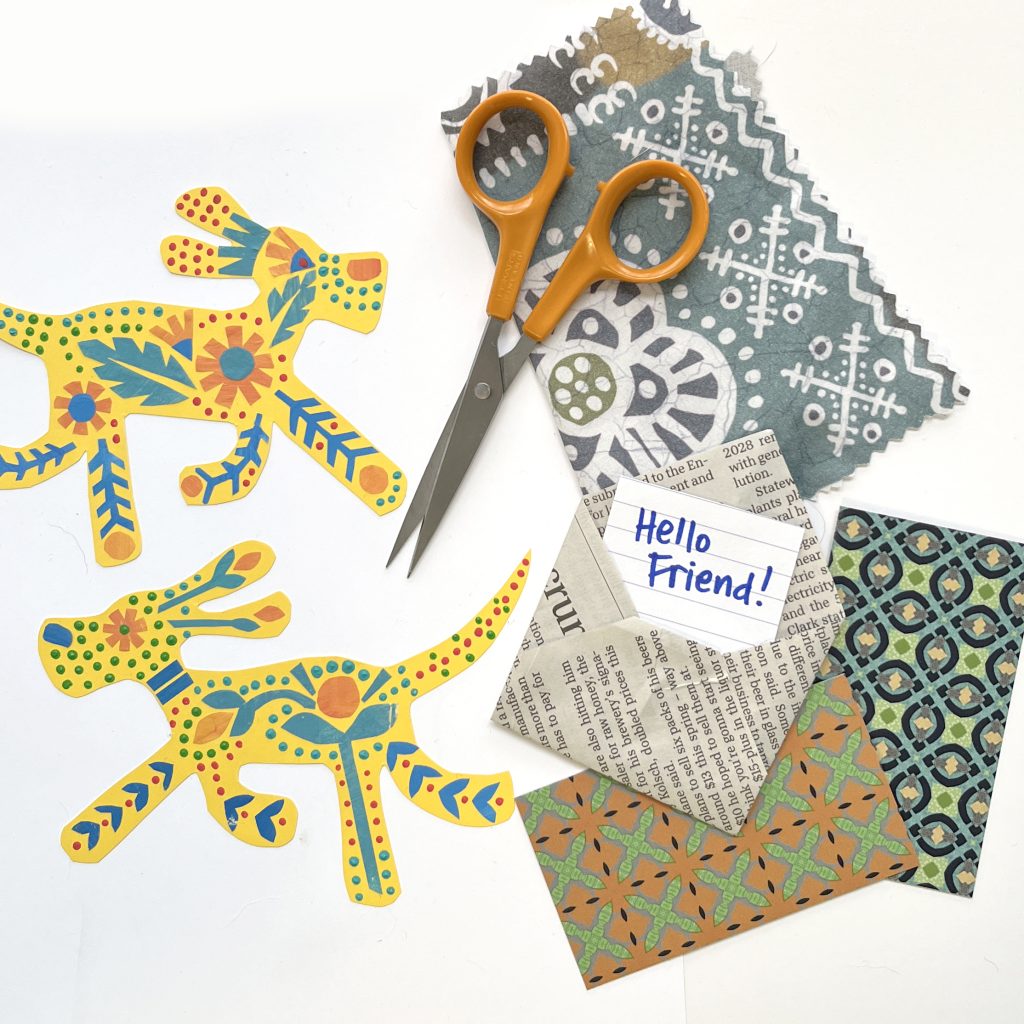
In this class, I’ll show you three different design ideas that start with a hands-on paper art project. We’ll work with marker doodles, paper collage, and some layered paper illustrations. Don’t worry, you don’t need super drawing skills. Every design is easy to personalize with your favorite colors and style. Once your designs are finished, you’ll scan or photograph them so you’ve got a digital version to work with.
Next we’ll explore simple ways of layering your designs to combine your art with some digital colors and effects. We’ll make a simple novelty print, a faux batik and a kaleidoscope geometric design. I’ll introduce you to Repper and Pixlr, two apps that work right in your web browser, which allow you to create layers and complex repeat tiles with just a few simple steps.
Not sure where to start designing fabrics?
This is the class! There are no rules when it comes to making your own fabrics and it’s really hard to know what you really need to get started. This class shows you ways to make designs that you can do right now with the art materials on your desk and the technology you already have right in front of you.
Here are some of the skills we will cover:
• How to digitize your art through photos or scanning
• An intro to Pixlr and Repper as design tools you can add to your tool box
• Experimenting with Layers and Layer Blends
• Adding digital effects (like gradient) to your handdrawn art
• Making repeating patterns from sketches and paper collage
• Giving yourself permission to try things and play with new tools
• Creating coordinating prints from a single source
Because the goal is to design fabric, I’ll also cover uploading to Spoonflower.com as a way to preview the designs and see what they might look like printed on fabric.
• Includes 63 minutes of video with captions
• 13 lessons with 3 complete design projects and ideas for many more
• Resources and links to help you learn more
• Comment sections on every lesson to ask questions or share ideas. Becka, the instructor, usually responds to questions within a few hours.
Every section includes a lesson with more ways to use the technique you’ve learned, like variations on a theme. So even if you don’t fall in love with your original design, you’ll have more ideas to try out and practice using the steps you learned. I also add a section in each project with common flaws or issues you might have with your pattern and suggest ways to troubleshoot.
It’s important to me that my classes are accessible. That means I include video with captions for students that might find that helpful. I use screen capture and overhead video so it’s easy to follow along with me. I choose free and low cost tools that work in your web browser, so you don’t need to acquire equipment. Classes use a variety of art materials so you can use what you have and find most appealing. Projects focus on techniques and concepts using your art versus completing a specific design template.
I hope you’ll join me for a Trio of Techniques and share the new fabrics you design!
Register now.
Cost: This class is $15.
Level: Intro/Beginner

About Becka, the instructor
Becka Rahn has been designing fabrics with Spoonflower for almost 15 years. She’s the co-author of The Spoonflower Handbook, A DIY guide to Designing your own Fabrics & Wallpaper and she’s placed twice in the Top 10 of Spoonflower’s Weekly design challenges. She’s an active teaching artist in her community and online. She’s passionate about helping artists conquer technology barriers to make their work more accessible.